
Recently, I was playing with Docker Swarm and I decided to setup a containerized Nexus as my Docker registry.
But to be able to work as a Docker registry, you need to use HTTPS. I found lots of articles about using Nexus as a docker registry, but not a containerized Nexus. That's what I'm going to describe. A solution is to use a proxy, let it handle the security and use plain HTTP between the proxy and Nexus, but that’s not what I’m interested in.
Install Dockerized Nexus
That part is the easiest one. :)
Although it’s not the recommended way to do it, I’m going to use a mounted volume. I find it easier to manipulate what's inside that way.

Note that, despite the command line given in the doc, we are opening two ports since we need another one for HTTPS. Choose it carefully as it will be used after.
Source: https://github.com/sonatype/docker-nexus3
Once you start Nexus, you can see the /some/dir/nexus-data directory growing.
Content of nexus-data

The 3 directories in bold are the ones we are going to use next.
Adding a valid name for our certificate
In real life, your certificate should match the DNS or machine on which you're hosting Nexus.
But in my case, it's just a local environment for testing purpose.
So I just added a value in /etc/hosts

Creating JKS
As Jetty is the underlying web container, a JKS (Java KeyStore) is needed to contain your certificate. Here, we are going to use a CSR.
First, go to the directory /some/dir/nexus-data/keystores and then create your CSR.

Updating the configuration
jetty-https.xml
Since the dockerized image of Nexus expose only the directory /nexus-data through a volume, we don’t have access to the HTTPS configuration, which is located in /opt/sonatype/nexus/etc/jetty/jetty-https.xml.
To do so, let’s create a writable jetty configuration directory.

Then start your dockerized Nexus and launch a bash prompt.

Once in the container, copy the file jetty-https.xml so that it’ll be accessible from the host and not deleted every time we relaunch the container.

Edit the file jetty-https.xml and modify the section accordingly :

As you can see, we deleted the property name « ssl.etc » since it tells jetty to look for the path under /etc/ssl, which a directory we cannot modify within the container.
nexus.properties
Then edit the file /some/dir/nexus-data/etc/nexus.properties to uncomment the line enabling the HTTPS port, and write the value you defined when you created your container.

Uncomment and modify the line allowing to tweak jetty configuration.

Then restart your container and tail the log.

You should observe the correct opening of both HTTP and HTTPS ports.

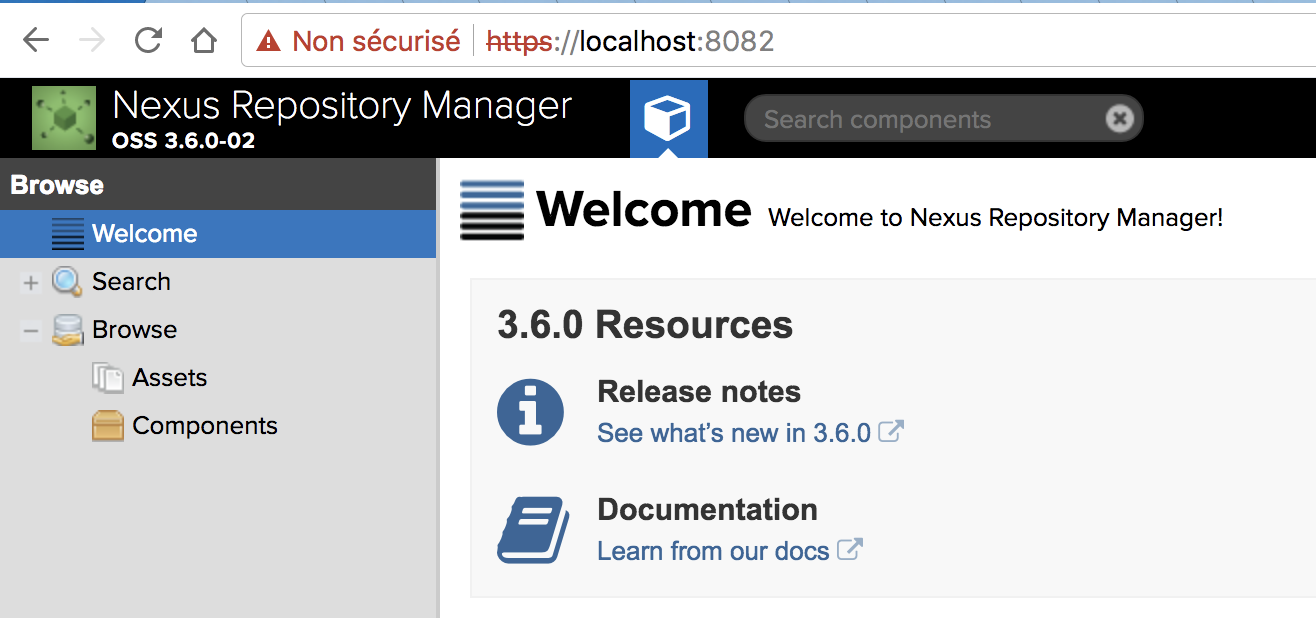
Our certificate is self-signed, that's why it is considered not valid by the browser.
Configure Docker Daemon to trust the certificate
You'll now have to configure the docker daemon to trust your certificate.
I'm not going to describe something that has already have been : just look at the description at the end of this article and you're good to go.
This article was originally published Maxence Button on Marence's Technical Corner